Sunday, July 21, 2013

Chocolate Peanut Butter Fudge Ice Cream Pie

My sister Emily and I used to have a pretty good system down for splitting slices of Dairy Queen ice cream cake: she'd eat both of our frosted vanilla ice cream layers, and I'd get the fudge-topped chocolate ice cream layers.  Fellow chocolate-lovers can surely understand why that arrangement worked for me.   

This ice cream pie recipe takes things to the next level, swapping out vanilla for peanut butter.  It starts with a chocolate graham cracker crust. Then, chocolate peanut butter ice cream filling is topped with chocolate peanut butter fudge and garnished with chopped peanuts.
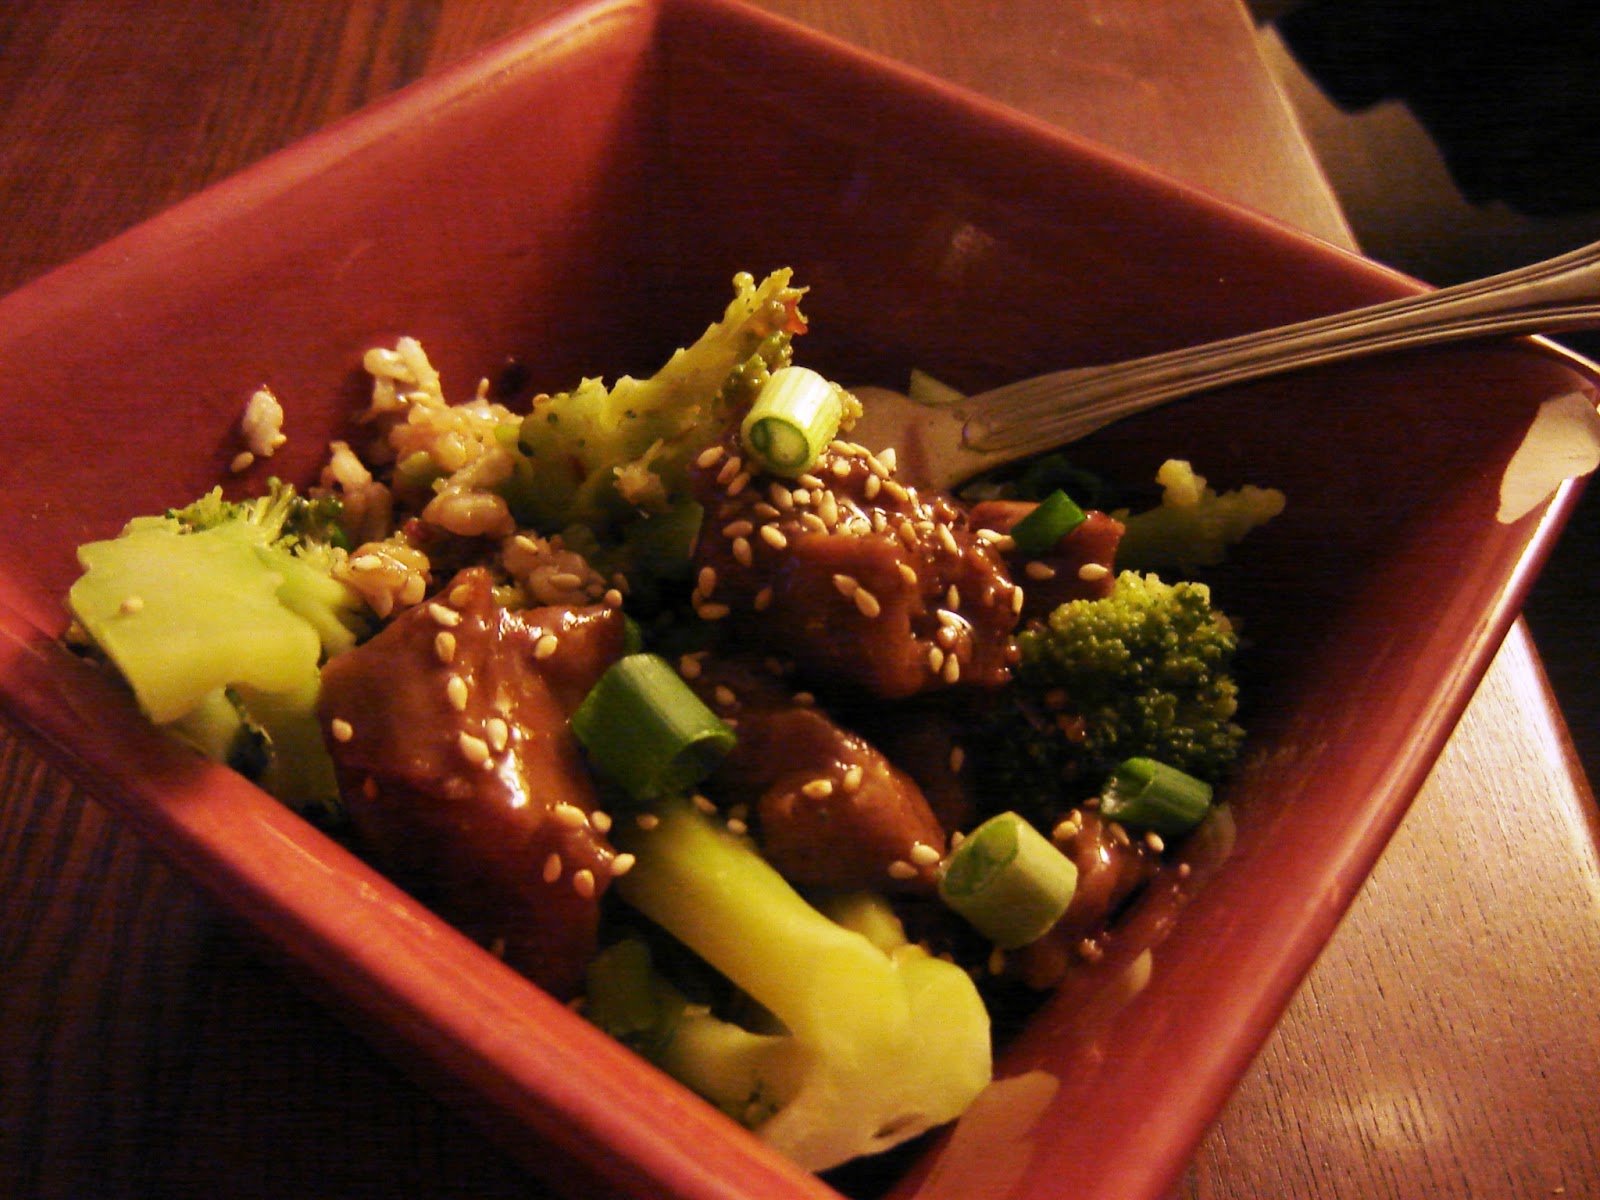
Ice cream pie
Recipe:
Chocolate Peanut Butter Fudge Ice Cream Pie

Crust:

  • 2.5 cups vegan graham cracker crumbs (I crushed graham crackers in the food processor)
  • 1 teaspoon honey (or agave)
  • 2 tablespoons cocoa powder
  • 1/2 cup shortening, softened
Peanut Butter Fudge Topping:
  • 1/4 cup agave
  • 1/4 cup honey (or more agave)
  • 1/2 cup creamy peanut butter
  • 1/4 cup plain organic soymilk
  • 5 ounces Ghirardelli semi-sweet chocolate chips
Filling:
Garnish:
  • 1/2 cup roasted peanuts, chopped

First, make the crust.  Mix together the graham cracker crumbs, honey, cocoa powder, and shortening in a medium bowl until well-combined.  Pour the mixture into a 10-inch springform pan and press onto the bottom and most of the way up the sides of the pan.  Set aside.

Then, make the peanut butter fudge topping. Pour the agave and honey into a small, heavy-bottomed saucepan and cook over medium heat, stirring frequently, for about 5-7 minutes.  The mixture should bubble and get a bit darker in color.  Remove from heat and add the peanut butter, soymilk, and chocolate chips.  Stir until the chocolate has melted and the mixture is smooth.  Set aside and allow to cool.

Next, make the ice cream filling. In a medium saucepan, heat the arrowroot powder and soymilk on medium-low heat, whisking frequently, until simmering.  Remove from heat, and whisk in the cocoa powder, chocolate chips, and peanut butter until well combined.  Then stir in the yogurt.  Transfer this mixture to a large bowl, and add in the ice cream.  Use an electric mixer to beat the mixture until all ingredients are combined and the mixture appears light and fluffy. 

Now, assemble the pie.  Pour the filling into the crust, cover with plastic wrap, and freeze the pie for one hour.  After an hour, remove the pie from the freezer, remove the plastic wrap, and spread on the peanut butter fudge topping.  Top with chopped peanuts.

Allow the pie to chill in the freezer for another 8 hours (overnight) to set completely.

Remove the pie from the freezer at least 15 minutes before serving.  Run a knife around the inside of the spring form pan to loosen the pie, and then release the spring form ring from the bottom of the pan.  Cut the pie using a knife that has been run under hot water, and serve. 

Comments:
Taste:           
YUM.  This ice cream pie is a chocolate peanut butter lover's dream, even though the peanut butter flavor is somewhat subtle.  The rich, gooey, peanut buttery fudge topping is the star of the pie, in my opinion.  I also enjoyed the variety of textures throughout the pie: the crumbly crust, smooth ice cream filling, and crunchy peanut garnish complement each other well.  The only thing I'd change is the crust -- it was a bit too crumbly, but I think softening the shortening before using it (as I wrote in the recipe above) will help fix that.
Accessibility:         
This is an expensive dish to make.  Unfortunately, vegan ice cream is not yet fully mainstream; so, it's both difficult to find (we went to Whole Foods) and quite expensive.  We also had to get vegan yogurt at Whole Foods.
 Ease of Preparation:        
Each individual step in this recipe isn't too difficult, but it does take a long time to make (freezing overnight will do that to you).  At least you can lick the spoons/bowls used for preparation immediately!
Non-vegan friendliness:            
I haven't had an ice cream cake in years, so it's hard to compare this version to the "real thing." Simon says that it doesn't taste quite like ice cream, but it's still very good. 

Sunday, July 7, 2013

Freezing Tofu

Several months ago I asked for advice on how to improve baked tofu.  I've had issues in the past with baked tofu coming out soft and unappetizing, rather than firm, browned, or even crispy.  One great tip was to be really thorough when pressing the tofu. Removing as much water as possible before baking it (or frying it, for that matter) is important.

The other day, however, I discovered another effective way to get firm, almost meaty tofu: freeze it!  Here's what I did:
  1. Press the tofu.
  2. Slice the tofu.
  3. Freeze the tofu in a sealed plastic bag.
  4. Thaw the tofu.
  5. Squeeze out any remaining water.
  6. Bake the tofu. (You could also marinate the tofu before baking.)
FYI, the tofu will turn a darker, yellower shade when it's frozen, but it regains its original color once it thaws.

Although this method requires some forethought, I'm definitely planning to freeze tofu as much as possible when using it in the future!  

Wednesday, June 12, 2013

Raw Brownies

It's no secret that I haven't been blogging much (at all) recently.  But, a couple nights ago I made something that inspired me to get my act together and write about it: raw brownies!

I've never gone out of my way to make a raw dish before.  To me, cooking/baking is half of the fun of eating, after all.  But, after I brought in a batch of my Fudgy Brownies to work several weeks ago (they received rave reviews, I'm happy to say), one of my coworkers passed along one of her favorite brownie recipes from My New Roots.  I thought I'd give it a try, and I'm glad I did!

Fruits, nuts, and chocolate -- in brownie form.

The beauty of this recipe is its simplicity.  As you can see below, it calls for just five ingredients.  I slightly altered the ingredients list from the original version by swapping out almonds for hazelnuts, so here's my version.

Recipe:
Raw brownies
  • 2 cups walnuts
  • 1 cup cocoa powder (I used a blend of Dutch cocoa and black cocoa)
  • 1/4 teaspoon sea salt
  • 2.5 cups Medjool dates, pitted
  • 1 cup chopped hazelnuts

First, line a baking dish with parchment paper or lightly grease the pan (any size dish will do -- a larger dish will yield thinner brownies, and vice versa).

Then, place the walnuts in a food processor and blend until they are finely ground. Add the cocoa and salt, and pulse until combined.

Next, while the food processor is running, add the dates one at a time through the feed tube.  Blend until combined.  The mixture is ready when it looks crumbly, yet holds together when pressed between your fingers (if it's too crumbly and won't hold together, add more dates).

Finally, using a spoon or your hands, mix together the chocolate mixture and the hazelnuts in a large bowl.  Press the mixture into the bottom of the prepared baking dish.  

Store in the refrigerator or freezer until ready to serve. Yields 1 pan of brownies. 

Comments:

Taste:           
These brownies have the rich, chocolatey flavor we all look for in a good brownie, while having something else to offer: a subtle, fruity sweetness. The dates provide for a fudgy, moist texture, and the nuts add a nice crunch to each bite.  Also, I want to point out that people who are unfamiliar with dates shouldn't shy away from this recipe!  I can't remember the last time I ate a date, but I do know that I enjoyed these brownies.
Accessibility:               
Between the nuts and the Medjool dates, these brownies aren't cheap.  However, my coworker who's made these brownies a few times emphasized to me the importance of using high-quality dates. Luckily, I was able to find Medjool dates at the store.
 Ease of Preparation:        
As long as you have a food processor or blender, these brownies are a piece of cake to make.  There's nothing better than whipping up a batch of brownies and being able to eat some right away.
Non-vegan friendliness:             
The only reason I give these a low carrot rating is because they couldn't really pass for typical, baked brownies.  For example, Simon commented that the brownies' texture reminded him of the inside of a fig newton, and as a result, he wasn't as enthusiastic about them. So, I wouldn't serve them as a replacement for baked brownies -- instead, I'd serve them in all of their raw, vegan goodness.  I bet any raw or vegan food skeptic would be shocked to learn that these rich brownies are both dairy- and heat-free!

Tuesday, April 9, 2013

Sweet and Nutty Massaged Kale Salad with Quinoa

I was first introduced to massaged kale at dinner last Christmas Eve.  "Massaged" kale?  I know, I was skeptical, too.  After all, I had only known kale as a slightly bitter green that needed to be steamed or sautéed until tender -- not a raw lettuce substitute that needs to be "relaxed" before eating.   

At this point, I've tried raw, massaged kale twice in my life, and it was great both times.  Massaged kale is my 2012 Christmas miracle. 

Kale, post-massage, post-dressing.
A quick note, before I move on to the recipe: I used lacinato kale rather than curly kale for this salad. Why did I do this?  Because the grocery store was out of curly kale.  Apparently, though, this was a serendipitous occurrence.  According to Wikipedia, lacinato kale (AKA Tuscan kale, Tuscan cabbage, Dinosaur kale, among other names) has a sweeter, more delicate taste than curly kale.  So, I'd give it a shot if you can find it!
Curly kale (left) and lacinato, or Tuscan, kale
Curly kale on the left, lacinato kale on the right (Source: Life is Fare)
Recipe:
Sweet and Nutty Massaged Kale Salad with Quinoa
  • 1/2 cup dry quinoa
  •  1/4 cup olive oil
  • 2 tablespoons balsamic vinegar
  • 2 tablespoons lime juice
  • 1/2 teaspoon minced garlic
  • 3 tablespoons honey (or agave nectar)
  • 5 cups kale, chopped into bite-sized pieces
  • 1/2 cup walnuts, toasted
  • 1/4 cup dried cranberries
  • 1 apple, diced
  • salt and pepper to taste

First, prepare the quinoa according to package instructions. Let cool while you prepare the rest of the salad components.

Next, prepare the vinaigrette. Whisk together the olive oil, vinegar, lime juice, garlic, and honey in a small bowl. 

Then, place the kale in a large bowl and pour the vinaigrette over the leaves.  Massage the kale with your hands for about five minutes, or until the kale has reduced significantly in size and feels tender. 

Add in the quinoa, walnuts, cranberries, apples, salt, and pepper to the bowl.  Toss and serve.

Yields 4 dinner-sized servings. 


Comments:
Taste:           
This salad has a great blend of sweetness, nuttiness, and earthiness.  Massaged kale becomes quite tender and soft, so the apples and walnuts add a nice crunch.  Next time I make this, I might add a bit of mustard to the dressing -- I think that would complement the flavor of the kale nicely.
Accessibility:              
I have occasional trouble finding kale at the nearby grocery store (perhaps it's because we go shopping on Sunday evenings!).  That said, Whole Foods is sure to have it.  Additionally, quinoa and walnuts can be two pricey ingredients.
 Ease of Preparation:        

The only reason I didn't give this a four-carrot rating in this category is the time it takes to cook the quinoa (about 15 minutes).  Otherwise, it's an incredibly quick and easy (not to mention fun) recipe.
Non-vegan friendliness:             
This is a hearty, protein- and calcium-packed salad that can stand on its own as a main dish.  Or, serve it alongside a pasta dish for a complete Tuscan experience.

Tuesday, March 19, 2013

Cornbread

Cornbread: as my dad might say, it's one of the four main food groups!  It also happens to serve as a great accompaniment to Hoppin John and Collard Greens.

A fluffy yet moist square of cornbread.

The egg-replacer in this recipe incorporates a technique that I've never tried before but that I'll definitely make use of in the future: heating a mixture of water and ground flax seed.  These ingredients are commonly used as an egg-replacer in vegan recipes; however, the act of heating the mixture results in an incredible, viscous texture that comes closer to an egg than any egg-replacer I've used.  Eureka!
 
Recipe:
Cornbread
  • 1 cup flour
  • 1 cup cornmeal
  • 1/4 cup sugar
  • 4 teaspoons baking powder
  • 3/4 teaspoon salt 
  • 2 tablespoons ground flax seeds
  • 6 tablespoons water
  • 1 cup soymilk
  • 1/4 cup canola oil

First, preheat the oven to 425 degrees Fahrenheit.  Grease an 8x8" baking dish and set aside.

Then, in a large bowl, whisk together the flour, cornmeal, sugar, baking powder, and salt.  Set aside.  
Next, prepare the egg-replacer.  Bring the water to a boil in a small saucepan.  Add the flax seed, and simmer the mixture on low heat for 3 minutes, stirring occasionally. 

Add the egg-replacer mixture to the dry ingredients, along with the soymilk and canola oil.  Mix with a wooden spoon until just combined.  (Do not overmix.)

Pour the batter into the prepared baking dish.  Bake for 20 minutes, or until a toothpick inserted into the center of the cornbread comes out clean.  Cool 10 minutes before cutting. 

Yields 16 small squares. 

Comments:
Taste:           
Moist, yet fluffy?  Check.  Sweet, but not overly so?  Check. 
Accessibility:               
These ingredients should be easy to find, with the possible exception of ground flax seed.  Tip: If you buy a whole bag of ground flax seed, store it in the refrigerator--it will keep for a long time.     
 Ease of Preparation:        
This is a really quick dish--even with the 20-minute cooking time.  Honestly, waiting for the oven to pre-heat was my biggest delay.   
Non-vegan friendliness:             
The only off-putting element of this dish is the visibility of the flax seeds.  The cornbread is light-colored, so the flax seeds stand out.  Taste-wise, this corn bread is just as good as non-vegan versions.  (Large pat of vegan butter, optional.)

Sunday, March 17, 2013

Hoppin' John and Collard Greens

I've been wanting to try Hoppin' John for quite some time.  What could be better than a New Year's tradition that centers around simple, flavorful food?

Hoppin' John is a Southern dish traditionally made with black-eyed peas, rice, and bacon (or another form of pork).  The earliest written record of the dish comes from an 1847 cookbook entitled The Carolina Housewife, but the dish is said to date back to the slave trade.  Today, the consumption of Hoppin' John on New Year's is said to bring good luck for the coming year.  Although the addition of extra pork is thought to bring more good luck, I like to think that this vegan version of the dish is lucky enough. 

A plate of steaming Hoppin' John and Collard Greens (pre-hot sauce).

Even though it's long past the New Year, here's a recipe for Hoppin' John and Collard Greens. 

Recipe:
Hoppin' John and Collard Greens
  • 1 large bunch collard greens, chopped (including the stems)
  • 1/2 cup apple cider vinegar, divided
  • 1/4 cup agave nectar
  • 2 tablespoons olive oil, divided
  • 2 teaspoons chili powder, divided
  • 2 teaspoons salt, divided
  • 4 cloves garlic, minced
  • 2 onions, diced
  • 6 stalks celery, chopped
  • 3 cups cooked rice
  • 2 - 15.5 ounce cans black-eyed peas, drained and rinsed

(NOTE: The list of ingredients includes cooked rice.  Be sure to cook the rice ahead of time, or start cooking the rice before beginning the rest of the dish.)

Bring water to boil in a large soup pot.  Add the collard greens and cook for 15 minutes.  Then, reserve 1 cup liquid before draining.

Meanwhile, in a small bowl, whisk together 1/4 cup vinegar, agave nectar, 2 teaspoons olive oil, 1 teaspoon chili powder, and 1 teaspoon salt.  Set aside.

In a large skillet, heat the remaining 4 teaspoons olive oil and garlic over medium heat.  Add the onion, celery, and remaining 1 teaspoon chili powder, and cook for about 8 minutes, or until they begin to turn soft.  Then, add the drained collard greens, vinegar mixture, 1/2 cup reserved cooking liquid, 1/4 cup vinegar, and remaining 1 teaspoon salt to the skillet.  Cook, covered, for 10 minutes.

Meanwhile, heat the rice, beans, and remaining 1/2 cup cooking liquid in a skillet until heated through.

Serve the rice, beans, and greens together. Yields 6 servings.

Comments:
Taste:            
The flavors in this dish are quite simple, and I enjoyed the fact that the collard greens and black-eyed peas truly stand out as the stars of the dish (rather than a sauce or spice).  The dish is neither sweet nor spicy, as the incorporation of both agave nectar and chili powder seems to achieve a good balance.  To add a bit of tang, and in true Southern fashion, we added some Louisiana-style hot sauce on top.
Accessibility:             
We had no trouble finding the ingredients in this dish.  The grocery store always seems to have collard greens, while kale and other dark, leafy greens are much more difficult to come by.  Tip: you can probably find agave nectar in the same grocery aisle as the honey.   
 Ease of Preparation:        
There are several components to this dish happening at once.  However, as always, chopping ingredients in advance will minimize confusion. 
Non-vegan friendliness:             
Someone who is familiar with bacon-laden Hoppin' John would probably miss the meaty flavor in this simple dish (and if that's the case, you could always add chopped imitation bacon to the mix).  Still, it's hard to find a healthier, more filling combination than black-eyed peas, rice, and greens.  I'd be very willing to serve this dish sans bacon to any non-vegan.

Monday, March 4, 2013

Penne with Vodka Sauce and Peas

Thanks to Simon's dad, we have a jar of Coconut Manna that we've been meaning to try out for some time. Coconut Manna is just a form of coconut flesh, similar to coconut butter.  According to the jar's label, it's good to use in rice, oatmeal, smoothies, and sauces in place of milk, cream, yogurt, or butter.

Post image for Some Nutiva Coconut Manna™ FAQs Answered

Enter vodka sauce, everyone's favorite creamy and tomato-y pasta sauce.  Heavy cream is usually responsible for vodka sauce's pink (rather than red) color, so in this case, Coconut Manna stands in for Cow Manna. 

Pasta and Peas, Smothered in Sauce

Here's the recipe for vodka sauce.  All you need to do is make the sauce and serve over penne and peas (or any other veggies). 

Recipe:
Vodka Sauce
  • 1/4 cup Coconut Manna
  • 2 teaspoons olive oil
  • 1 medium onion, diced
  • 1/2 cup vodka
  • 1 - 28 ounce cans petite diced tomatoes
  • 7 ounces canned coconut milk
  • salt and pepper, to taste

First, submerge the tightly sealed jar of Coconut Manna in very hot tap water to melt the Manna.  It should soften up enough to stir and measure after 5-10 minutes. 

Add the Coconut Manna, oil, and onion to a medium saucepan, and sauté over medium heat, stirring frequently, until the onions and manna begin to brown.  Then lower the heat to low, add the vodka, and stir.  Cook, stirring frequently, for eight minutes.  Next, bring the heat back up to medium, mix in the diced tomatoes, and simmer, uncovered, for 20 more minutes.  Add the coconut milk and cook until heated through, about 5 minutes.

Finally, transfer most of the sauce to a food processor and blend until smooth.  Recombine the processed sauce with the chunky sauce, and add salt and pepper to taste.

Yields sauce for about 1 pound of pasta.

Comments:

Taste:            
This sauce is rich and creamy--and it had better be, with all of that coconut in it!  The coconut flavor is subtle but definitely present, and the sauce has a mild flavor overall.  (I might add a bit of crushed red pepper flakes to my leftovers in order to spice it up a little.)  The pairing of the sauce and peas on top of the pasta is a good one, as the peas add a little color and a little texture.  
Accessibility:             
Coconut Manna must truly be the food of the gods: a jar of Coconut Manna apparently costs about $10.  Although it was fun to try, it probably won't be a regular purchase of mine in the future. 
 Ease of Preparation:        
This sauce takes a bit of time to make, but it's pretty simple to prepare. 
Non-vegan friendliness:             
Unfortunately, given that I've only had vodka sauce once or twice in my life, I'm not sure whether this actually tastes like traditional vodka sauce.  Given it's noticeable coconut flavor, I'd say it would be better served as a creamy pasta sauce rather than a traditional vodka sauce.

Saturday, February 9, 2013

Easy Vegan Sausage Rolls

When I was younger, I always loved helping my mom make sausage rolls.  They were definitely one of my family's go-to appetizers: using just two ingredients (usually a roll of biscuits and a package of ground sausage, I believe), we could make a quick, easy, and warm finger food for all of our crowd-pleasing needs.

This morning, I decided to try out a vegan version of these rolls.  I used puff pastry instead of biscuits, and vegan sausage instead of pig sausage. While they don't taste exactly the same, they're still delicious!  

Fresh out of the toaster oven.
Recipe:
Easy Vegan Sausage Rolls

About 40 minutes ahead of time, set out the puff pastry sheet to thaw (or thaw it in the fridge overnight).  When the sheet is almost thawed, preheat the oven to 400 degrees Fahrenheit.

When the pastry is malleable, unfold it on a cutting board and spread the sausage evenly over the sheet. Then, starting on one of the longer sides of the rectangle, roll up the sheet into a log.  Finally, using a sharp knife, cut the log into 3/4"-1" thick sections.

Bake for about 20 minutes, or until the pastry is golden brown.   Yields 10-12 pinwheels. 

Comments:
Taste:            
There's nothing fancy about this appetizer, but sometimes simple is good.  These rolls are warm, flaky, savory, and steamy in all the right ways.  However, the sausage-to-pastry ratio is a bit higher than I remember it being when we used biscuits, so I might try using homemade biscuit dough the next time I make these.  Simon added some mustard to one of his, so feel free to experiment with toppings or sauces.   
Accessibility:            
It's quite easy to find vegan puff pastry (Pepperidge Farm's Frozen Puff Pastry Sheets are vegan); however, I am only able to find vegan sausage at higher end or specialty grocery stores.  It freezes and thaws well, so stocking up is always an option.
 Ease of Preparation:        
This is an incredibly simple dish to make--just remember to thaw the puff pastry in advance.
Non-vegan friendliness:             
The appeal of this appetizer pretty much comes down to whether or not you like Gimme Lean's vegan sausage (or another variety of vegan sausage--I just find Gimme Lean to be the best).  Simon ate these and requested seconds, so that's a good sign; but, I can see other people shying away from imitation sausage.  Your body will thank you for making these rolls with vegan sausage compared to pig sausage: one serving of vegan sausage has 60 calories and 0 grams of fat, while one serving of pig sausage has 180 calories and 15 grams of fat. 

Wednesday, January 30, 2013

Avocado Pesto and Tomato Pasta

In case today's 71-degree weather wasn't unseasonable enough for you, here's a summery dish that will bring a little warmth and brightness to your day.  This recipe for Avocado Pesto and Tomato pasta comes (slightly altered) from Chef Chloe.

A fresh-tasting, creamy pasta dish.
Given that tomatoes come at a high price during the winter, you might try making this dish with jarred, sun-dried tomatoes instead of raw, store-bought tomatoes.

Recipe:
Avocado Pesto and Tomato Pasta

  • 1 pound whole wheat linguine
  • 1 package frozen broccoli
  • 1 small bunch (approximately .75 ounces) fresh basil
  • 1/2 cup pine nuts
  • 2 avocados, pitted and peeled
  • 2 tablespoons lemon juice
  • 3 cloves garlic, minced
  • 1/2 cup olive oil
  • salt and pepper, to taste
  • halved cherry tomatoes or sliced sun-dried tomatoes, for garnish

First, bring a large pot of water to boil and begin preparing the linguine according to the package directions. When approximately five minutes of cooking time remain, add the broccoli to the pot.  Once the broccoli and pasta are tender, drain and set aside.

Meanwhile, prepare the avocado pesto.  Combine the basil, pine nuts, avocados, lemon juice, garlic, oil, and salt and pepper in a food processor, and process until smooth. 

Toss the prepared pasta with the pesto, top with tomatoes, and serve warm.

Yields 6 servings. 

Comments:
Taste:           
This is not your average, basil-heavy pesto dish.  Although basil does make an appearance in the recipe, its flavor is subtle.  Instead, the avocados and tomatoes take center stage, giving the dish a creamy, mild, fresh taste.  While this is one of the most naturally creamy pasta dishes I've enjoyed as a vegan, it is worth noting that the creaminess faded a bit once we reheated the dish as leftovers.  Next time I make this, I might try adding some crushed red pepper flakes to spice things up.
Accessibility:            
Unfortunately, this is a pretty pricey pasta dish.  The pine nuts and tomatoes--either cherry or sun-dried--are particularly costly.  To bring down the price, you could try using a different nut, such as walnuts (still expensive, but perhaps less so).
 Ease of Preparation:        
This is a quick and easy dish, as long as you have a food processor.  If you don't have a food processor or blender, try chopping up the ingredients and using a potato masher or spoon to combine.
Non-vegan friendliness:            
This rich pasta dish isn't missing anything.  Even though traditional pesto recipes often include Parmesan cheese, the avocado more than makes up for the lack of cheese. 

Wednesday, January 16, 2013

Seitan and Broccoli Bowls

I received The Complete Guide to Vegan Food Substitutions for Christmas--a book that I recommend you all check out!  More than just a cookbook, it's a how-to guide for working without dairy, eggs, meat, and animal by-products. Plus, it labels recipes as gluten-free, soy-free, etc.

We decided to try out the book's recipe for "Beef" and Broccoli Bowls, or, as my version is called, Seitan and Broccoli Bowls.  I made a few adjustments to the original recipe, as detailed below.

Seitan and Broccoli Bowl topped with Sesame Seeds and Scallions
Recipe:
Seitan and Broccoli Bowls
  • brown rice (enough for 6 servings)
  • 6 cups frozen (or fresh) broccoli florets 
  • a heaping 1/2 cup agave nectar
  • 6 tablespoons low-sodium soy sauce
  • 1/2 cup white wine (or vegetable broth)
  • 1/4 cup sesame oil
  • 2 tablespoons corn starch
  • 1 tablespoon minced garlic
  • 1.5 teaspoons crushed red pepper flakes
  • 24 ounces chopped seitan
  • 3 scallions, chopped
  • toasted sesame seeds, for garnish

First, begin preparing the rice according to the package instructions.  When about 15-20 minutes remain in the cooking time, set the broccoli to steam.  As the broccoli and rice are cooking, move on to prepare the sauce.

To make the sauce, whisk together the agave, soy sauce, wine, oil, corn starch, garlic, and red pepper flakes in a medium saucepan over medium-high heat.  When the sauce begins to boil, turn down the heat and simmer, stirring often, until the sauce thickens a bit.  Then, add the seitan to the sauce and continue cooking until heated through.

Finally, layer the rice, broccoli, and saucy seitan in a bowl, top with scallions and sesame seeds, and serve.

Yields 6 servings. 

Comments:

Taste:            
This flavorful, umami-filled dish is sweet, spicy, and satisfying.  The seitan, broccoli, and rice come together into a nice, substantive, healthy bite.  
Accessibility:            
While you can make seitan from scratch, we ventured to Whole Foods to buy prepared seitan (sold in the refrigerated section, often near the produce); it's not sold at other nearby grocery stores.  Don't let the agave nectar scare you--we had no trouble finding it at our regular grocery store, in the syrup/honey aisle.  Also, we found a small (single/double serving?) box of wine at the grocery store, meaning we didn't need to buy a whole bottle just for this recipe.
 Ease of Preparation:       
While there are several things going on at once in this recipe, they are all pretty low-maintenance and easy to do.  Using "instant" brown rice can speed things up.
Non-vegan friendliness:            
I'm intentionally calling this recipe Seitan and Broccoli Bowls, rather than "Beef" and Broccoli Bowls: seitan isn't the same as beef, so there's no need to force a comparison between them.  This healthy, tasty dish is satisfying on its own.